
Good skin can make the world of difference to your overall look, no matter what season, ethnicity, age, skin type, or make-up preference you have. Here are 10 easy steps to help you get the best base possible and help you feel gorgeous!
-
Know YOUR Skin Type
By far, the most important step, knowing your skin type is vital, as it allows you to really shop for products based on your personal needs. As what works for someone else may not work for you. Skin type is influenced by dozens of factors, including health, diet, smoking, age, season, temperature, and air pollution levels. Thus, your skin type can actually change throughout your life!
More from Glowing Gorgeous: Find out here the Best Silicone-Free Moisturizers And Why Do You Care
There are several types of skin, including mature and sensitive- However, these are usually in addition to the core four types: normal, oily, combination, and dry.
To best assess what your skin type is, wash your face, then go to sleep at night without using any skin or hair products that may leave excess oils (including A/C, diffusers, etc.). When you wake up, touch your T-zone (forehead, nose and chin), then C-zone (the outer portion of your face). See if it is feeling oily, damp, or dry. You can also do this with blotting paper, or plain paper if you have none, to see if any residue or moisture is left when you swipe it across your skin. Combination skin is where you may be oily in some areas, but dry in others. If your skin feels tight, fresh, smooth and well-rested, you probably have normal to lightly oily skin. If it is feeling sensitive or red, you probably have dry or sensitive skin.
-
Shop accordingly
Then, apply this knowledge to your shopping carts. For example, if your skin is sensitive, you may need to research products that are gentle and free from certain irritating ingredients. If your skin is oily, you may struggle with foundations cracking or slipping, so want something designed for long wear. A great way to find products that work for you is by reading reviews about products from people with your skin type, or similar. Our community of hair and beauty fans who are waiting to help you find the best products that work for you and your skin!
-
Exfoliate and remove excess hair or ‘Peach Fuzz’
Body hair is normal, if you are confident enough to rock it, then be my guest! But for me, I find foundation just sits better without. There are loads of methods for this, and we all have our favorite. I like to wax my face, but for times when I’m in a pinch, I also enjoy dermaplaning blades, which are essentially small straight blade razors. I love them because they also exfoliate and remove dead skin cells simultaneously!
While it’s an investment, the Dermaflash lets you do exfoliation at home with its patented Sonic Edge Technology. It removes peach fuzz, built-up debris, and dead skin cells, creating a flawless canvas for skincare and makeup. -
Primer
They say skincare was the most important part of your makeup bag, and they are right. Never skip out on moisturizer, after you found the best skin care products for you- next, you need to include a primer into your routine. If you are one of those people who don’t believe in primer, google an image of an orange with a primer on. You will never look back. Before turning cruelty free, I used to love Benefit’s ‘porefessional’. Now, thanks to reading some great reviews right here, I found an Elf primer I love, which aside from being vegan and CF, is also considerably cheaper!
-
Consider Colour Correction
When covering imperfections, for some of us, there are times where concealer doesn’t quite cut it. If you suffer from acne, hyperpigmentation, dark circles, or If you have facial hair and are looking to cover a five o’clock shadow, you may want to consider color correction underneath your makeup base. To neutralize a color, you need to combat it using the color on the opposite end of the color wheel. If you aren’t familiar with the color wheel, here are some of the most common color-correcting solutions available:
Green: Neutralises redness, blemishes, and blotchiness.Yellow: Combats discoloration like age spots or broken capillaries.
Purple: Brighten dullness and/or sallow undertones.
Peach: Dark circles, dark spots or masking five o’clock shadow on fair to medium skin
Orange: Dark circles, dark spots or masking five o’clock shadow on medium to dark skin
-
Colour matching is key!
Now that your skin is prepped and ready, you’re ready to apply your liquid base-concealer and foundation. Again, make sure to use product formulas that best suit your skin and your needs.
If you are a beginner or are just unsure, you may want to go to the store at somewhere like Sephora or Ulta to get color matched. If not, you can try and do this at home. There are several methods available online, such as observing the color of your veins, or whether gold or silver jewelry is most flattering. The three main undertones out there are warm, cool, and neutral. I personally actually fall into the Olive category- meaning I have green undertones, which is sadly quite underrepresented in many shade ranges. Olive people can usually get away with using neutral, but some extra inclusive brands like Fenty are starting to cater to such undertones. Make sure to choose a foundation as close to your natural skin color as possible.For an extra brightening look with your concealer, I recommend one that is actually one or two shades lighter than your foundation. Apply this to the parts of the face you wish to highlight, along with your dark circles and blemishes. Most people before blending end up with some semblance of a triangle under their eyes, with additional bits depending on your face shape/preferences.
-
Blend
I know you probably hear this word all the time, but it’s much harder to blend too much than it is too little. Always apply your base in a well-lit room, paying extra attention to ensure that your face and neck match to avoid streaks.
-
Baking: what is it, and is it really necessary?
The first thing I like to do before I highlight and contour is applying a translucent setting powder generously on my undereye using a damp beauty blender, preferably when my concealer is still a little tacky. This process is called baking and is particularly useful if your skin is oily, but you may want to avoid this step if your skin is particularly dry.
Bonus tip: I usually leave this on until I have completed my eyeshadow look, as it provides a barrier between my skin and any loose pigment or fallout that you can just brush off when you’re done! -
Contour
You can get contour kits from several brands. Honestly, they are often overpriced, bulky, and unnecessary, as the same results can be achieved using products you likely already have. Your favorite contour, bronzer, or even a brown eyeshadow in the right tone can work in a pinch!
Feel where your cheekbones are with your fingers and apply contour underneath them, where you think shadows would (or should!) naturally fall. Start with a light application, as it is far easier to add more than it is to take away.You can find some great guides online to help you decide where else you might want to apply contour, specific to your face shape, so as to best define or even disguise some of the features you would wish to be a little smaller. For example, your nose, your forehead, or your jawline.
-
Highlighter
Highlighter adds anything from a natural, dewy glow to a metallic, wet look. Depending on the look you are going for, you can choose your product accordingly. We can help with this too if you want to see pictures of other beauty fans using products with varying levels of shine. Ensure you only apply sheen to areas of your face you want to emphasize, and Voilà! By now, your skin should be looking fresh and gorgeous.
 DERMAFLASH LUXE Anti-Aging Sonic Dermaplaning Exfoliation Tool for Women, Icy...
 Benefit Cosmetics POREfessional Pro Balm Face Primer Pore Minimizer .75 Ounce
 e.l.f. Hydrating Face Primer, Makeup Primer For Flawless, Smooth Skin &...
 Stila Correct And Perfect All In One Color Correcting Palette, 0.45 Ounce
 Dermablend Cover Care Concealer, Full Coverage Concealer Makeup and Corrector...
 JAPONESQUE Kumadori Beauty Sponge, Foundation and Makeup Blender for Airbrushed...
 jane iredale Powder-Me SPF Dry Sunscreen, Translucent, 0.62 oz.
![[Too Cool for School] ArtClass by Rodin Shading | Korean Contour Palette | Bronzer Face Powder | #1 Classic [Warm Tone]](https://m.media-amazon.com/images/I/41INOKW4r3L.jpg) [Too Cool for School] ArtClass by Rodin Shading | Korean Contour Palette |...
[Too Cool for School] ArtClass by Rodin Shading | Korean Contour Palette |...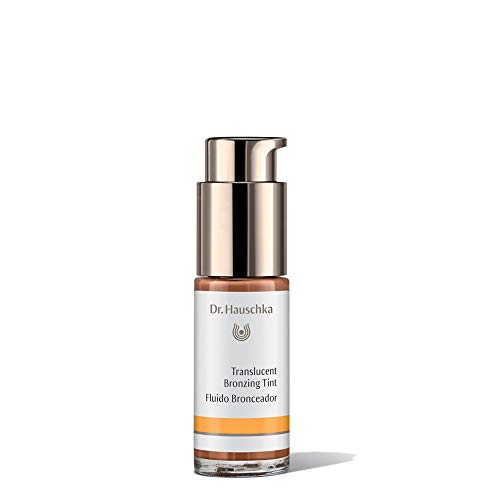 Dr. Hauschka Translucent Bronzing Tint, 0.6 Fl Oz
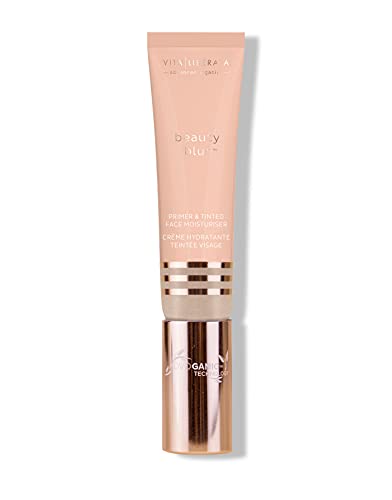 Vita Liberate Cream Highlighter, Café Crème
More from Glowing Gorgeous: Find out here Hyram’s Recommended Face Sunscreens For The Summer
Article from Cherie, credit to user @FrancescaDenney

Comments